Create Size Chart
To topOpen BF Size Chart & Size Guide and click the Add size chart button.
Next click the Edit button to edit the size chart you just added.
![]()
Title
To topThis is what the title of the size chart is going to be that shows on the top of the size chart popup.
Description Top (optional)
To topThis is where you put the information about the size chart that will appear above the size chart. You can also use images and style the information.
Adding Images
To topTo add an image click on the ![]() icon.
icon.
Change Image Width
To topDouble-click the image to change the width.
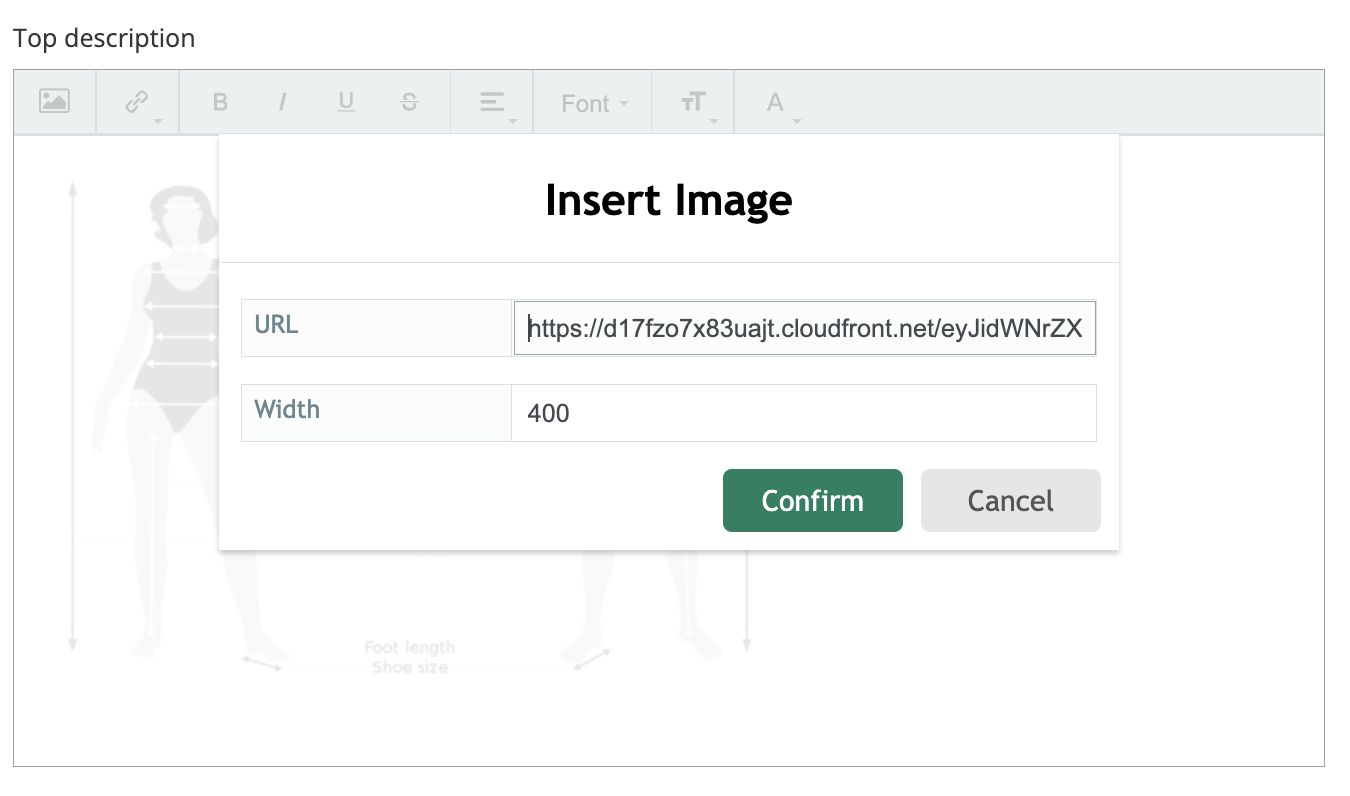
Uploaded images will automatically be resized to the correct dimensions of the size chart. Click here for information on how to upload higher resolution images.
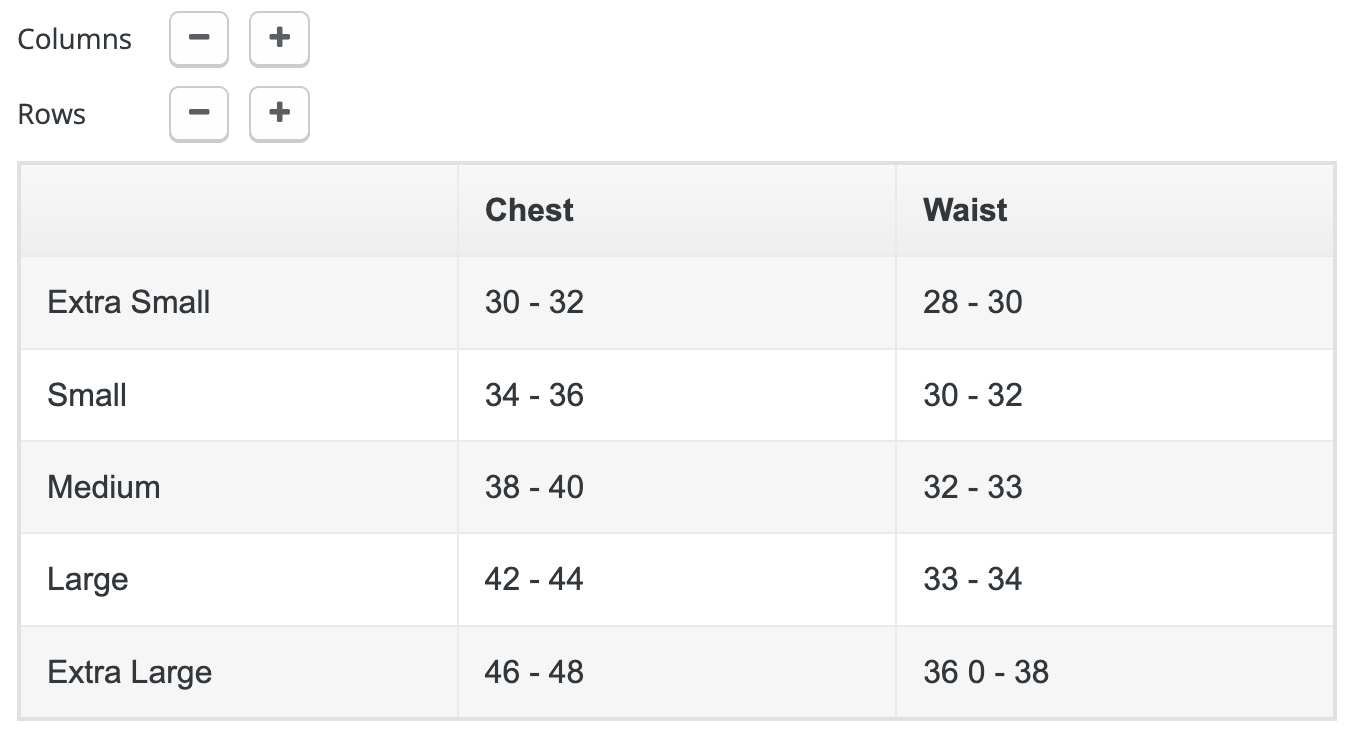
Size Chart
To topFor the size chart you can create a chart with as many columns and rows to fit your needs.
Description Bottom (optional)
To topThis is another area to add text or images.