To get our apps Virtual Options to show up correctly on the Order Confirmation email you will need to add some code to your email template.
How to get to New Order Notification
To topClick here to go directly to your Order Confirmation Notification.
Try the link above first. If that doesn’t work you can get to this email notification by following the directions below.
- Go to your Shopify dashboard
- Select Settings (bottom left)
- Select Notifications
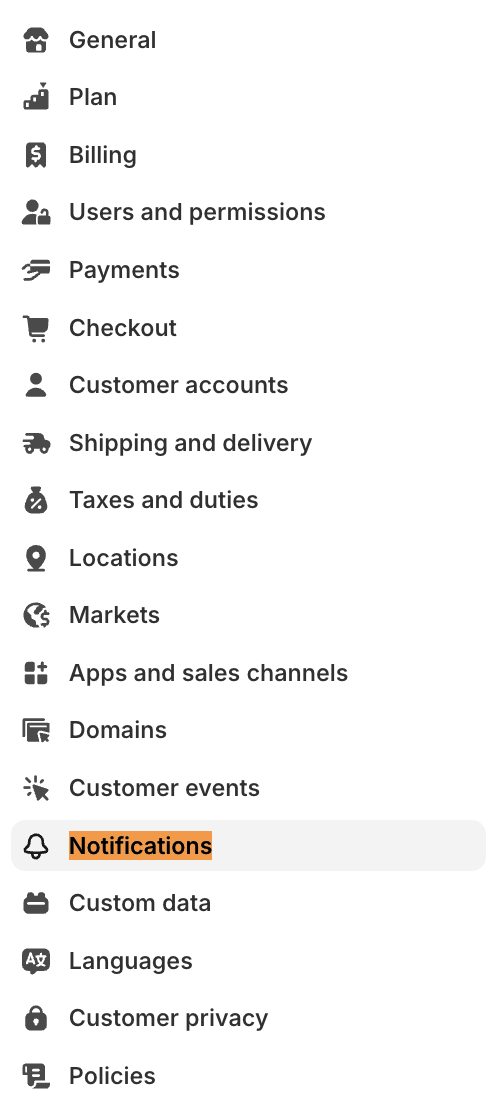
- Select Customer Notifications
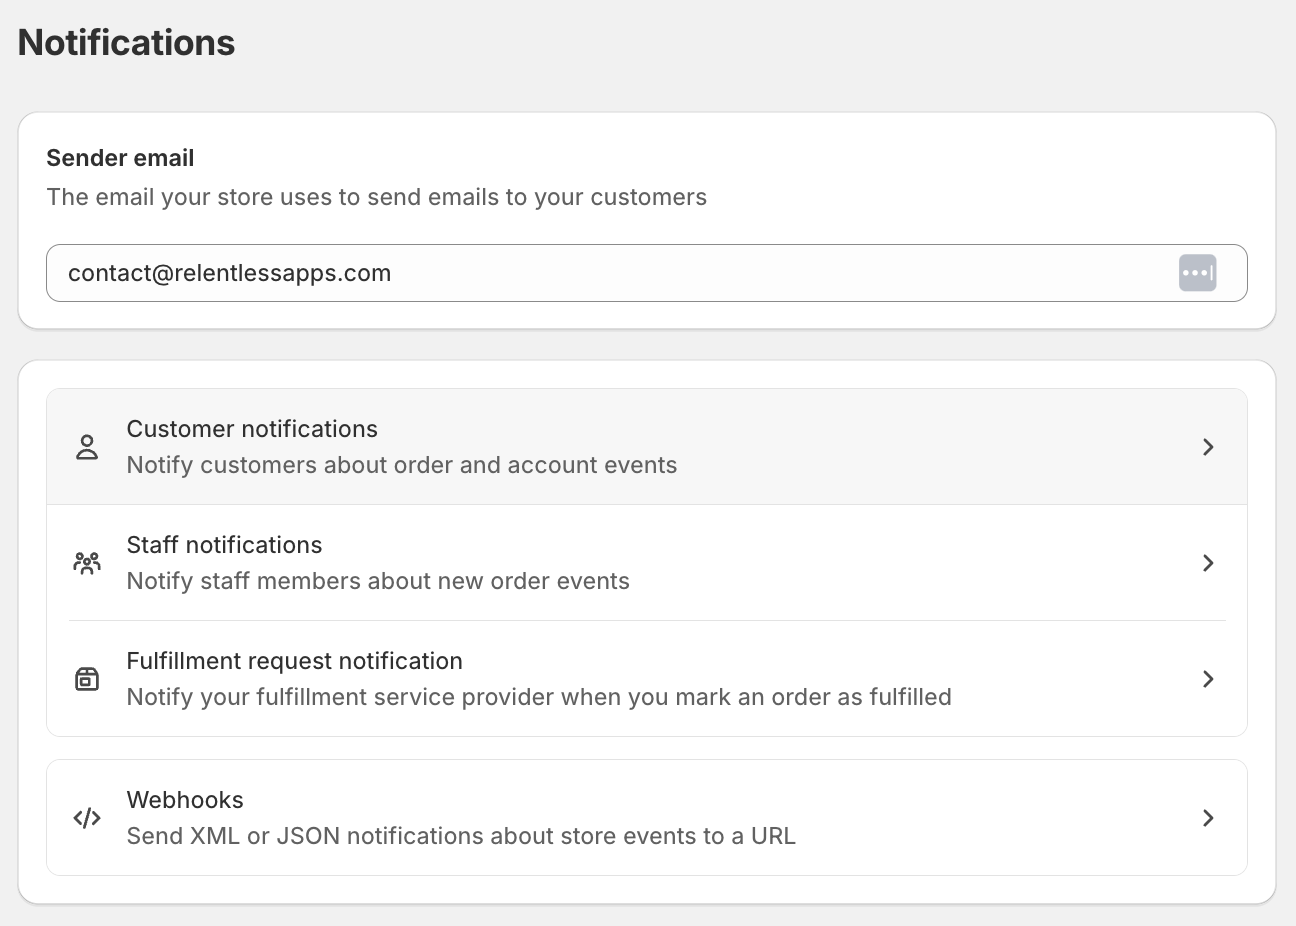
- Under Order Processing click Order Confirmation
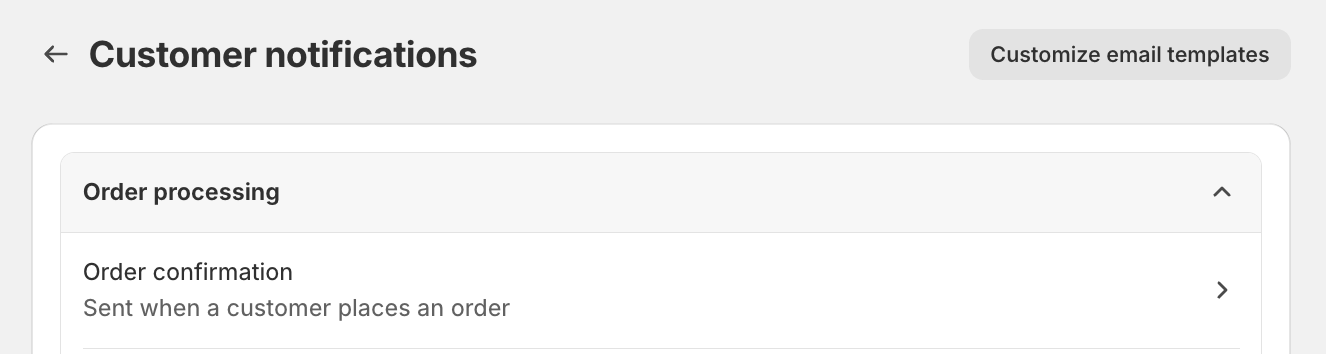
In the Order Confirmation template click Edit code in the upper right.
How to edit the Order Confirmation Code
To topSearch for the code below around line 1826. This is where the title of the product is displayed. In the latest version, this code appears four times, so make sure it’s the one near line 1826.
{% if line.variant.title != 'Default Title' and is_parent == false %}
<span class="order-list__item-variant">{{ line.variant.title }}</span>
{% elsif line.variant.title != 'Default Title' and line.nested_line_parent? %}
<span class="order-list__item-variant">{{ line.variant.title }}</span>
{% elsif line.variant.title != 'Default Title' and line.bundle_parent? and false == false %}
<span class="order-list__item-variant">{{ line.variant.title }}</span>
{% endif %}
Copy and paste the code below underneath where you found the code above. This will put the option data below the line-item title.
{% for p in line.properties %}
{% unless p.last == blank or p.first == '_' %}
<div class="bcpo-property">{{ p.first }}:
{% if p.last contains '/uploads/' %}
<div><img src="{{ p.last }}" style="max-width: 50px; height: auto;"></div>
{% else %}
{{ p.last }}
{% endif %}
</div>
{% endunless %}
{% endfor %}
The result will look like the screenshot below.
